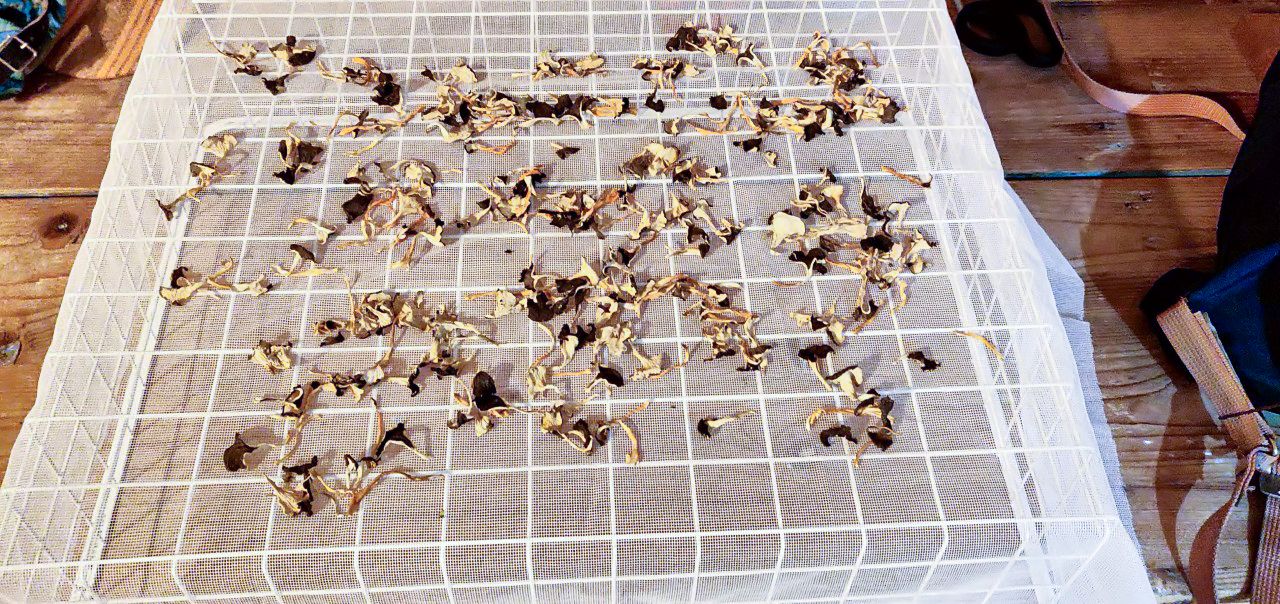
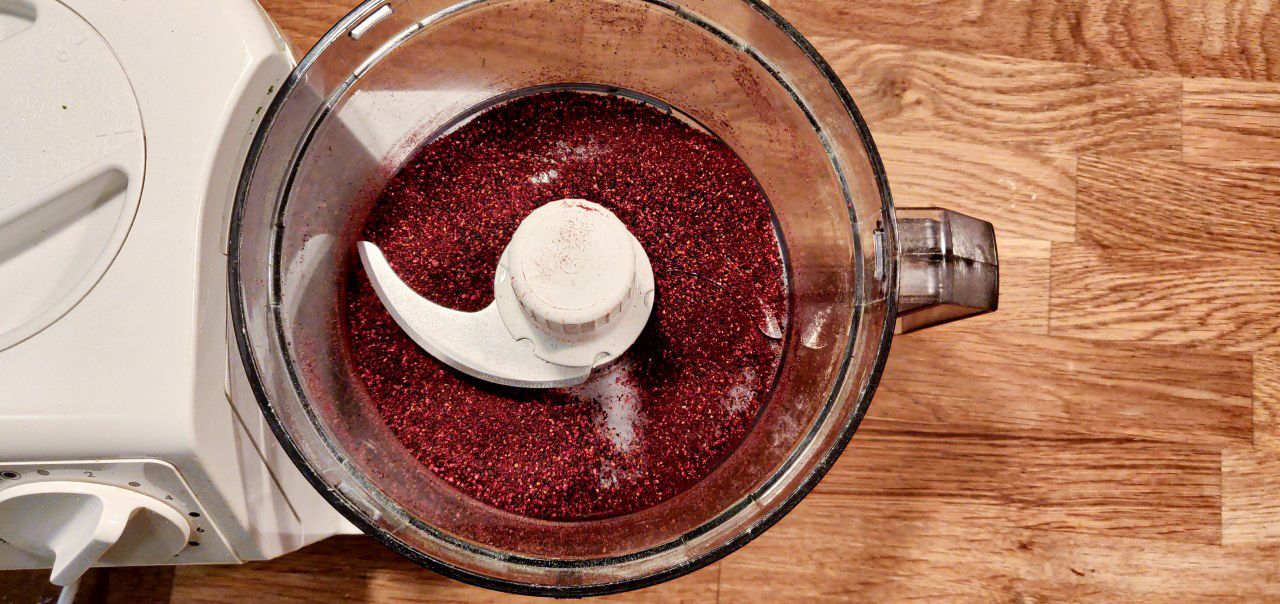
Tasty and easy to dry
Things that need to be done in order to dry different raw ingredients:
- Remove the peel. It takes longer to dry with the peel still on as this is the natural moisture barrier of fruit and vegetables. Thin apple slices can have the skin left on to hold their shape a little.
- The raw ingredients need to be thinly sliced or finely chopped. Slicing vegetables coarsely with a grater also makes them dry quickly. Smooth slices are easy to get if you have a food processor at home.
- Pre-wash the ingredients. This kills bacteria and makes it quicker to dry afterwards. Frozen vegetables in shops are pre-watered before being frozen. Therefore, they are also very easy to dry once thawed.
- For leafy greens, you need to steam or blanch them briefly. Otherwise, there is usually a bitter taste in the dried product.
- Frying. In a dry pan. For example, frozen vegetables can be roasted until most of the moisture has evaporated and then dried in an oven or dehydrator.
- Salt both draws water out of ingredients and inhibits bacterial growth, and can mean you don't have to dry as long. For example, peppers, courgettes, aubergines and tomatoes can be drained of most of their moisture by leaving slices of the vegetables on a bed of salt before drying.
Oven drying, room temperature or dehydrator?
In my travel recipes I have written how to dry ingredients in the oven because it is something that most people have at home. Of course, the best thing is to have access to a dehydrator as it speeds up the drying time, doesn't use as much electricity, and usually gives better quality.
When drying in the oven, it is a good idea to use baking paper on the tray or rack to prevent the ingredients from sticking. If you have Teflon-coated sheet metal, you can probably do without it.
When it’s time to put your ingredients on the plate, be sure to put as little space between the pieces as you can. For example, if two carrot slices are on top of each other, they will not be ready at the same time as the others. It is important that the air can move freely around the pieces.
The best drying results are obtained if the raw materials are dried quickly, but at a low temperature (preferably not more than 50 degrees). That's because oxygen in the air destroys nutrients the longer they are exposed to the air. And if the drying process is too hot, nutrients are broken down and a film is formed that prevents moisture from leaving the raw ingredients. The only time it's a good idea to dry hotter is with produce like chicken, meat and fish when you want to avoid dangerous bacterial growth.
In order to circulate the air in the oven a little, it’s a good idea to have the fan on or the oven door slightly ajar to let the moist air out.
Different foods take different amounts of time to dry. It's not uncommon for things to take 12 hours to dry in the oven. But about 8 hours is usually most common if you have pre-treated the food. It can be a bit difficult to be certain that the ingredients are completely dry when you take them out of the oven. Break open a piece and feel if there is still moisture left. Or place everything in a sealed bag in the fridge and see if there is any condensation in the bag once everything has cooled down.
Once your food is dry, you can think about how to pack it. To make it easy on the trip, it’s a good idea to pack sachets of pre-mixed dishes, such as 100 ml of couscous, some dried leeks, dried peppers and dried beans. The alternative is to bring a bag of peppers, a bag of couscous, a bag of leeks, etc. This will allow you to be more creative on the trip, but the cooking will also take a little more time and energy.
Here are some more cooking tips for when you are on the road:
- Remember that food will be healthier and cook faster if you soak the dry goods for a while before heating them up.
- Dried food contains almost no fat at all. Bring some oil or butter to complete the meal.
- Don’t forget that you will need to salt and season the food. Either do this directly in the bag at home or bring some spices and salt on the trip.
Does all this feel like a lot?
I understand. But you’ll find when you start drying your own food that it’s easier than you think. Start small with apple rings, leeks and carrot slices and you'll see how much fun it is, especially when you get to eat it all! Pretty soon you’ll be swapping freeze-dried dishes for your own.
Good luck!
-
Posted in
Food Hacks


